Custom Object Definitions
Your ability to access account settings may depend on the permissions setup by your organization.
Custom Objects allow you more control over your Paminga marketing use. Think of Custom Objects as custom data tables, that leverage your custom data to control email campaign participation, drive automated workflows, list membership and other actions.
Custom Objects allow for “many-to-one” relationships with both Accounts and Contacts in Paminga. For example, you could store many purchases that were made by a given Contact or Account, and then leverage the data from those purchases in Segments.
Custom Objects are similar to Custom Fields – you must “define” a Custom Object before you begin storing data in it. Unlike Custom Fields, a Custom Object can consist of many fields that all relate to your object.
Once you’ve defined a Custom Object, you may customize how the data stored in your object will appear in Paminga – more on that later.
An Example to Follow
As we walk through the steps below, we’re going to use an example to make things easy to understand. Let’s pretend that you are a tour company and your customers may register for one or more tours. Each tour has a name, a departure date, and a duration in hours. With Custom Objects, you can store as many tours as are needed for any given Contact.
Defining a Custom Object
Our first step is to “define” a Custom Object. We need to give it a name and few other pieces of information.
- Hover your mouse on your user icon at the upper right corner in Paminga, then navigate to Account Settings. On the left hand side expand the drawer and select "Custom Object Definitions"
- Here is where all your created Custom Objects will be displayed. To create a new custom object select "Create Custom Object" in the right-hand corner
- Enter the name of your object in the field labeled Singular Label. (In this example “Tour”) Paminga will automatically fill the remaining fields. Feel free to edit the text in these fields, but it’s probably safe to leave it as is
- Click Save
Congratulations! You’ve now created a basic Custom Object in Paminga. Now let’s add in the fields we need to make our new “Tour” object useful.
Standard Fields
Paminga creates several Standard Fields automatically when you define a Custom Object.
These fields will be filled automatically when you create instances of your object. These fields can be found by navigating to Custom Objects and clicking on Tour (the name of your object).
- Created By: The email address of the Paminga user that created the object instance
- Created Date: The date & time at which the object instance was created
- ID: A unique ID that is assigned to each instance of the object
- Last Modified By: The email address of the Paminga user that last modified the object instance
- Last Modified Date: The date & time at which the object instance was last modified
- Object ID: The unique ID of the object definition
- Owner: The email address of the Paminga user that "owns" the object instance
- Object Name: The name of this field will vary based on the names you give your objects when you define them. For example, if you define an object that you name "Order", you will have a Standard Field called "Order Name". If you define an object that you call "Application", you will have a Standard Field called "Application Name". This field will store the Name of each object instance.
Adding Custom Fields
Now that you’ve defined your object, it’s time to create Custom Fields to store your data. You can create as many Custom Fields as you need. There are several field types available to you when adding Custom Fields…
- On the Tour/”Your Custom Name” Fields page scroll down to an area labeled “Custom Fields”. Click the Create New button to add the fields your object requires.
- Choose a Field Type for your Custom Field
- Date
- Date and Time
- Lookup – A lookup field is a reference to another object in Paminga like a Contact or Account
- Number
- Pick List – also known as Drop Down List or Select
- Text
- Website
- Provide a Label for your Custom Field. You’ll see that the Name field is populated automatically. This is the name the system uses to work with your field. You may change this if you like, but it’s likely fine to leave it as is.
- Decide whether this Custom Field is required for every instance of this object. If so, check the box.
- Click Save
Define Object Relationship
Custom Objects must be “related” – or be tied – to a standard object like a Contact or Account. For example, if you create an object to store Orders, you could choose to have each order “relate” to a Contact or to an Account (but not both). This decision depends on how you track orders within your company.
In order to leverage the data in your objects, you must define the Relationship(s) between your object and an existing object. This tells Paminga how to use your object in Segments.
To Create a new relationship:
- Click on the Create New Relationship button
- Choose a Label for this Relationship. In our example, we are tying each Tour to a Contact, so we’ll label this Relationship “Tour Contact”. The Name field will be populated for you
- Choose a Type for this Relationship. Available choices include
- One to One
- One to Many
- Many to One
- Many to Many
When choosing a Type, the word on the left represents your Custom Object. The word on the right represents an object like a Contact or Account. In our example where we want many Tours to be related any Contact we’ll choose “Many to One”.
- Choose the existing object you’d like your new Custom Object to be related to.
- Click Save
Appearance in the Platform
Paminga allows you to customize the appearance of your custom objects both on the List Layout and the Record Layout.
Customize Your List Layout
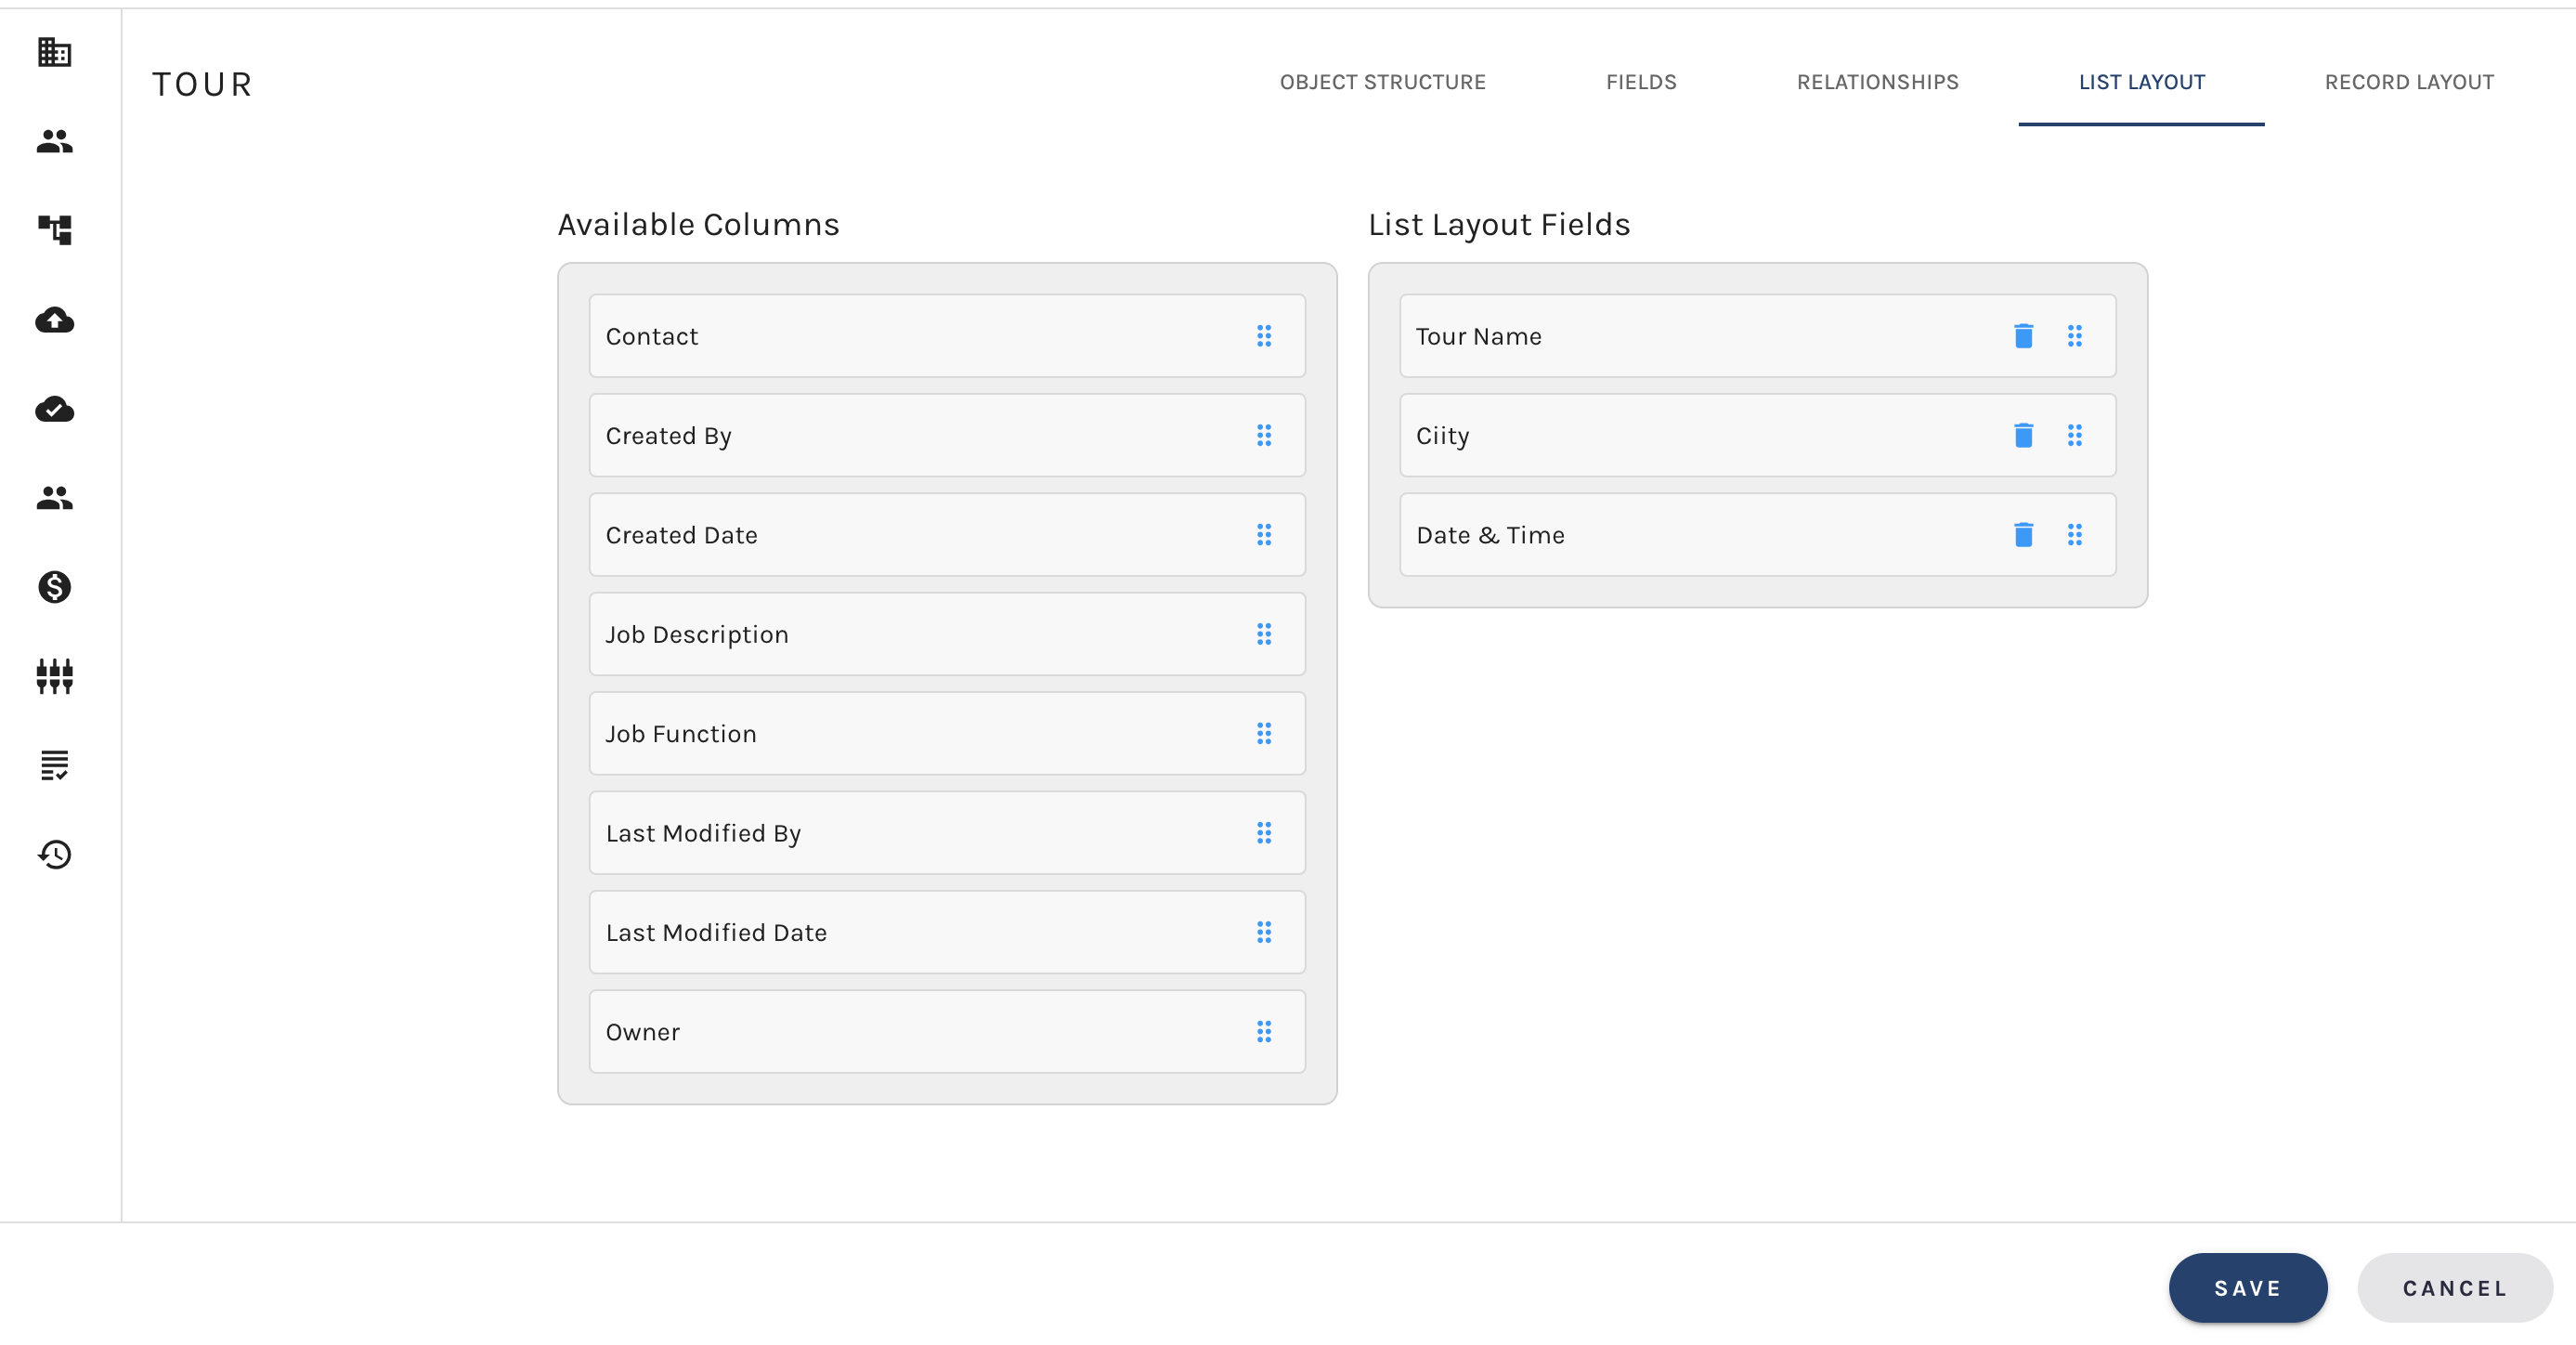
A “List Layout” is what you see when view the “My Emails” page or the “My Campaigns” page. Now that you’ve defined a Custom Object (Tours in this example), Paminga creates a List Layout page called “My Tours” for you automatically. You get to choose which fields appear on the “My Tours” page.
Custom Object List Layout

- In the sub-menu near the top of the page, click on Tour/Your Custom Object Name List Layout
- Drag and drop fields from “Available Fields” to “Current Layout Fields” and order them as you see fit. You are free to change your List Layout any time you like
Customize Your Record Layout
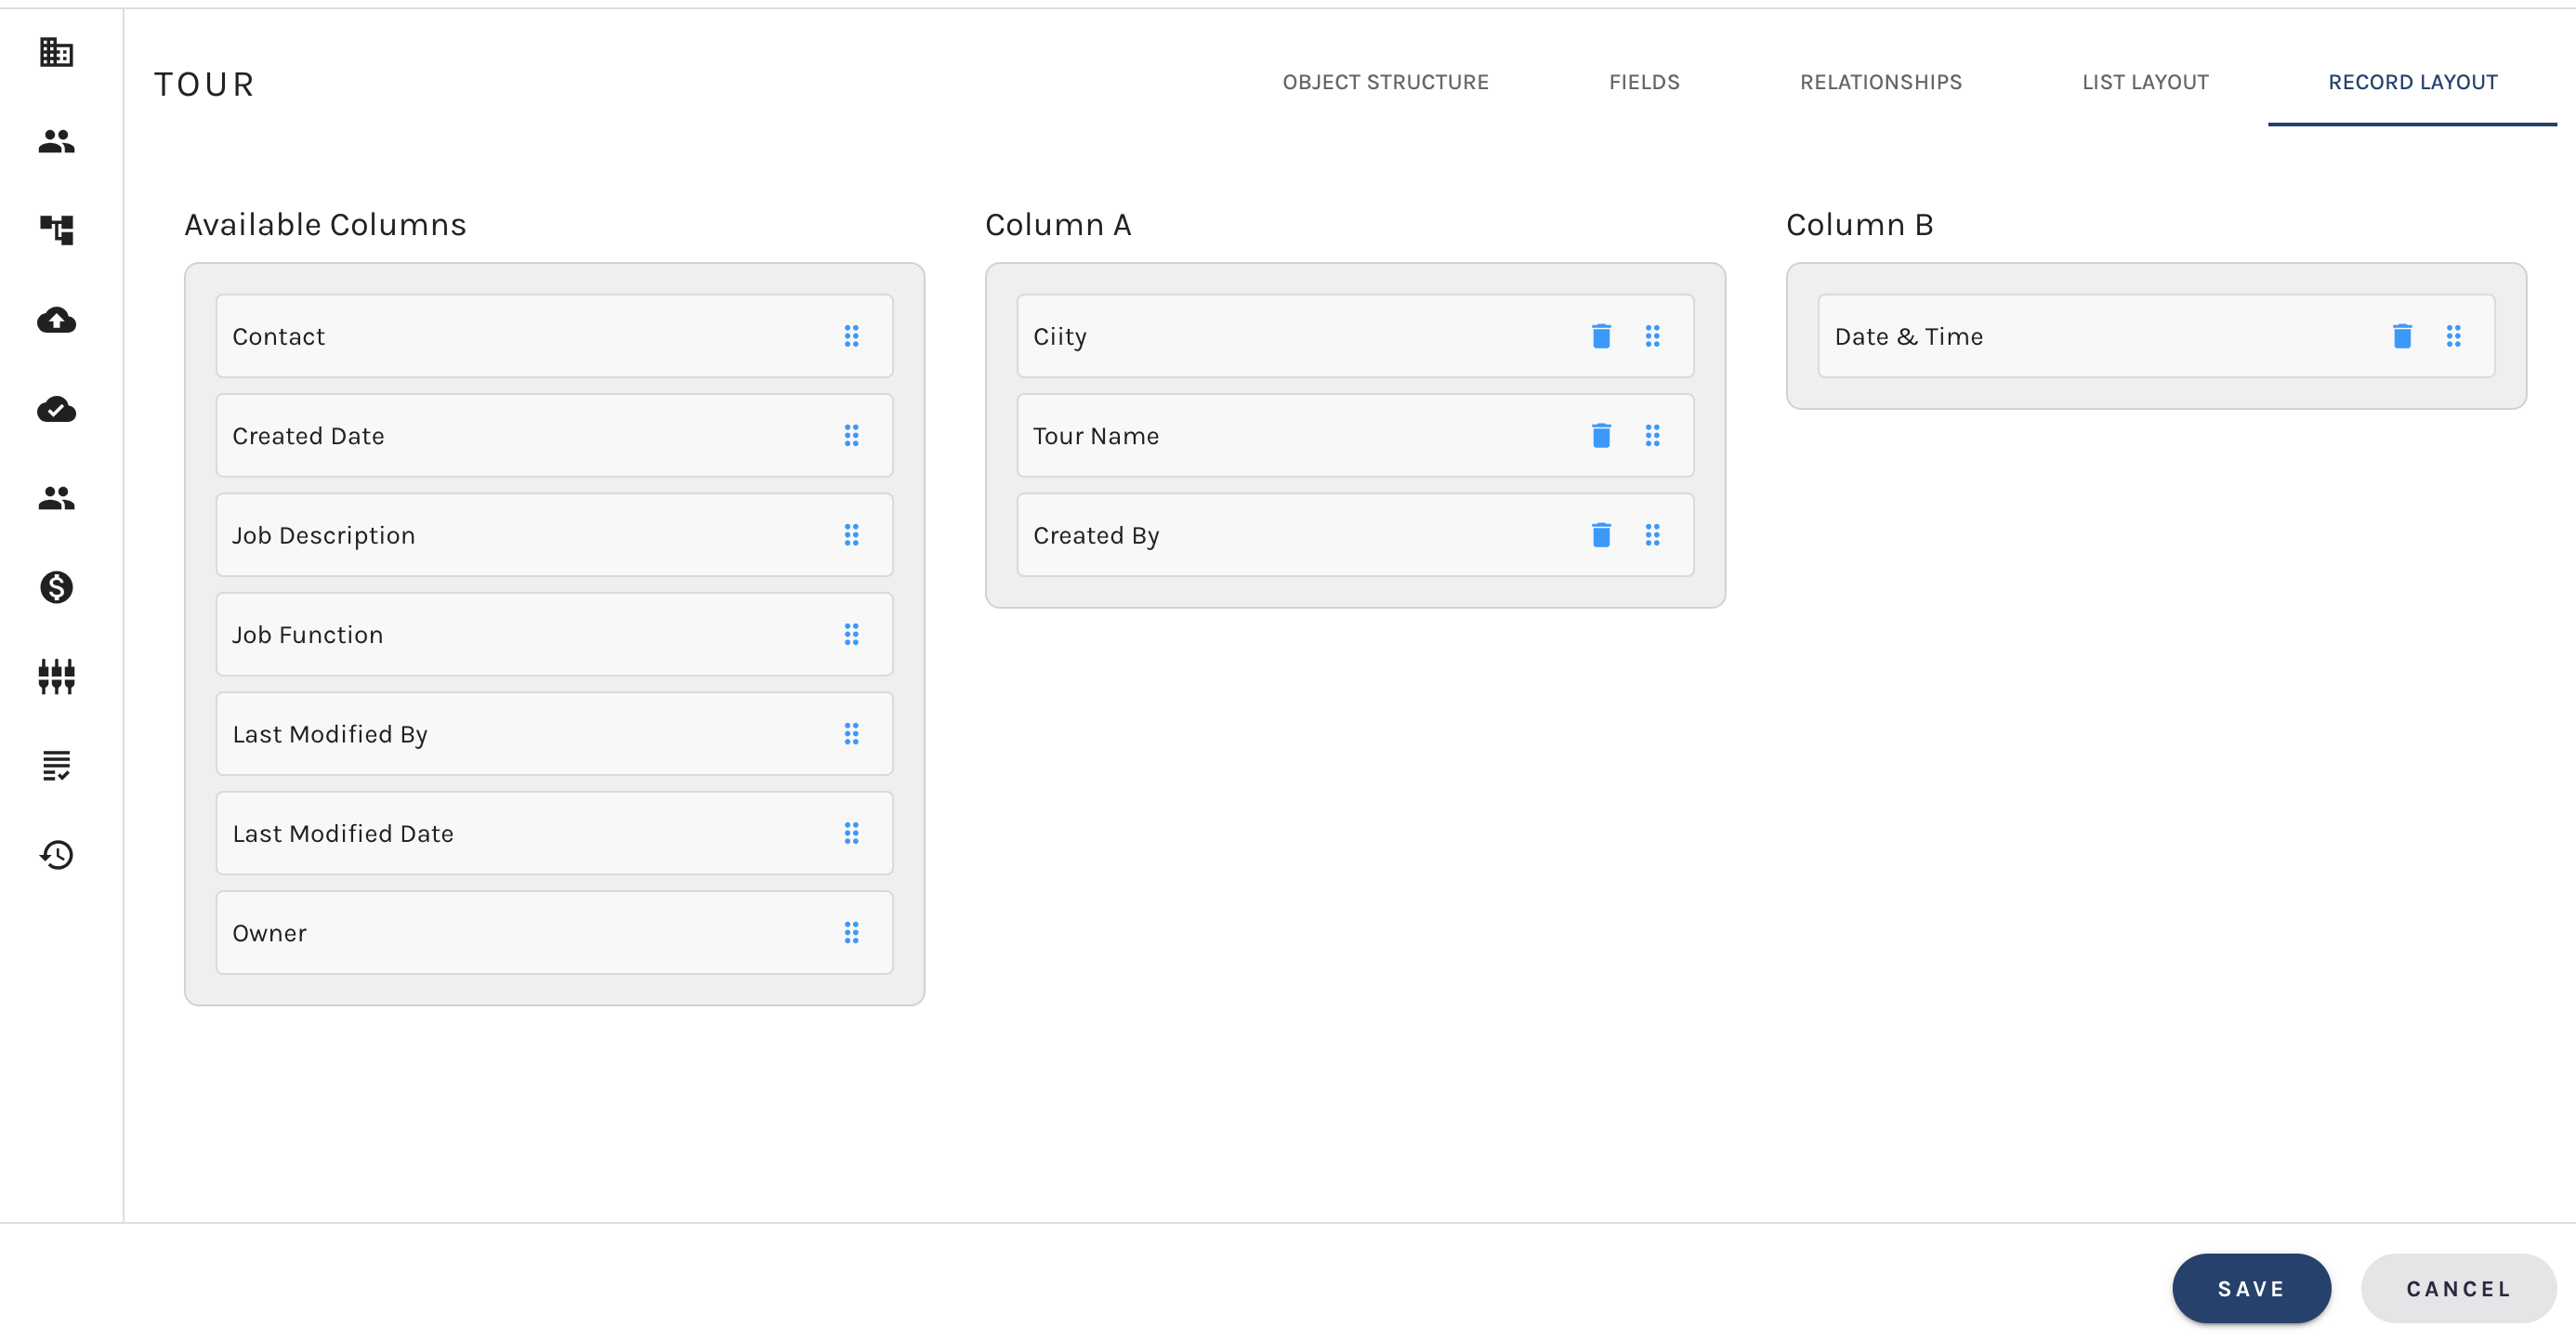
Just like you can view any individual Contact or Account, you will be able to view any individual instance of your Custom Object. You have control over which of your standard and custom fields appear on this view, which is called a Record Layout.
Custom Object Record Layout

- In the sub-menu near the top of the page, click on Tour/Your Custom Object Name Record Layout
- Objects in Paminga use a two column record layout. Drag and drop to arrange the columns in your record layout as you see fit. The layout may be changed any time you like.
Adding Data // Creating an Instance of Your Data
There are two ways to add data to your Custom Object:
- Manually
- Leveraging the Paminga API
Manually Create an Instance of Your Custom Object
- In the top menu, hover your mouse over Contacts & Accounts
- Hover Custom Objects
- Hover “Tours” (or the name of the object you’ve created)
- Click on Create New. You can now manually populate the fields for your object
- Click Save
Using the Paminga API
- The CustomObjectRecord::setOne method allows you to create or update an instance of your object
- The CustomObjectRecord::setMultiple method allows you to create or update instances of your object in bulk
Segmenting on Custom Objects
The power of Custom Objects in Paminga lies in your ability to drive workflows and automation based on your custom data. It all starts with segmentation.
- Create or modify an existing Segment and click on Add Conditions
- Click on Custom Objects. This option will not appear until you’ve defined at least one Custom Object
- Within your object, select the field(s) you’d like to Segment on
- Put that data to work adjusting lead scores, managing list membership, driving campaign participation or CRM tasks… All the power of Paminga is now enhanced by your custom data
